Overview
Hole-by-Hole Guide
Hole 1

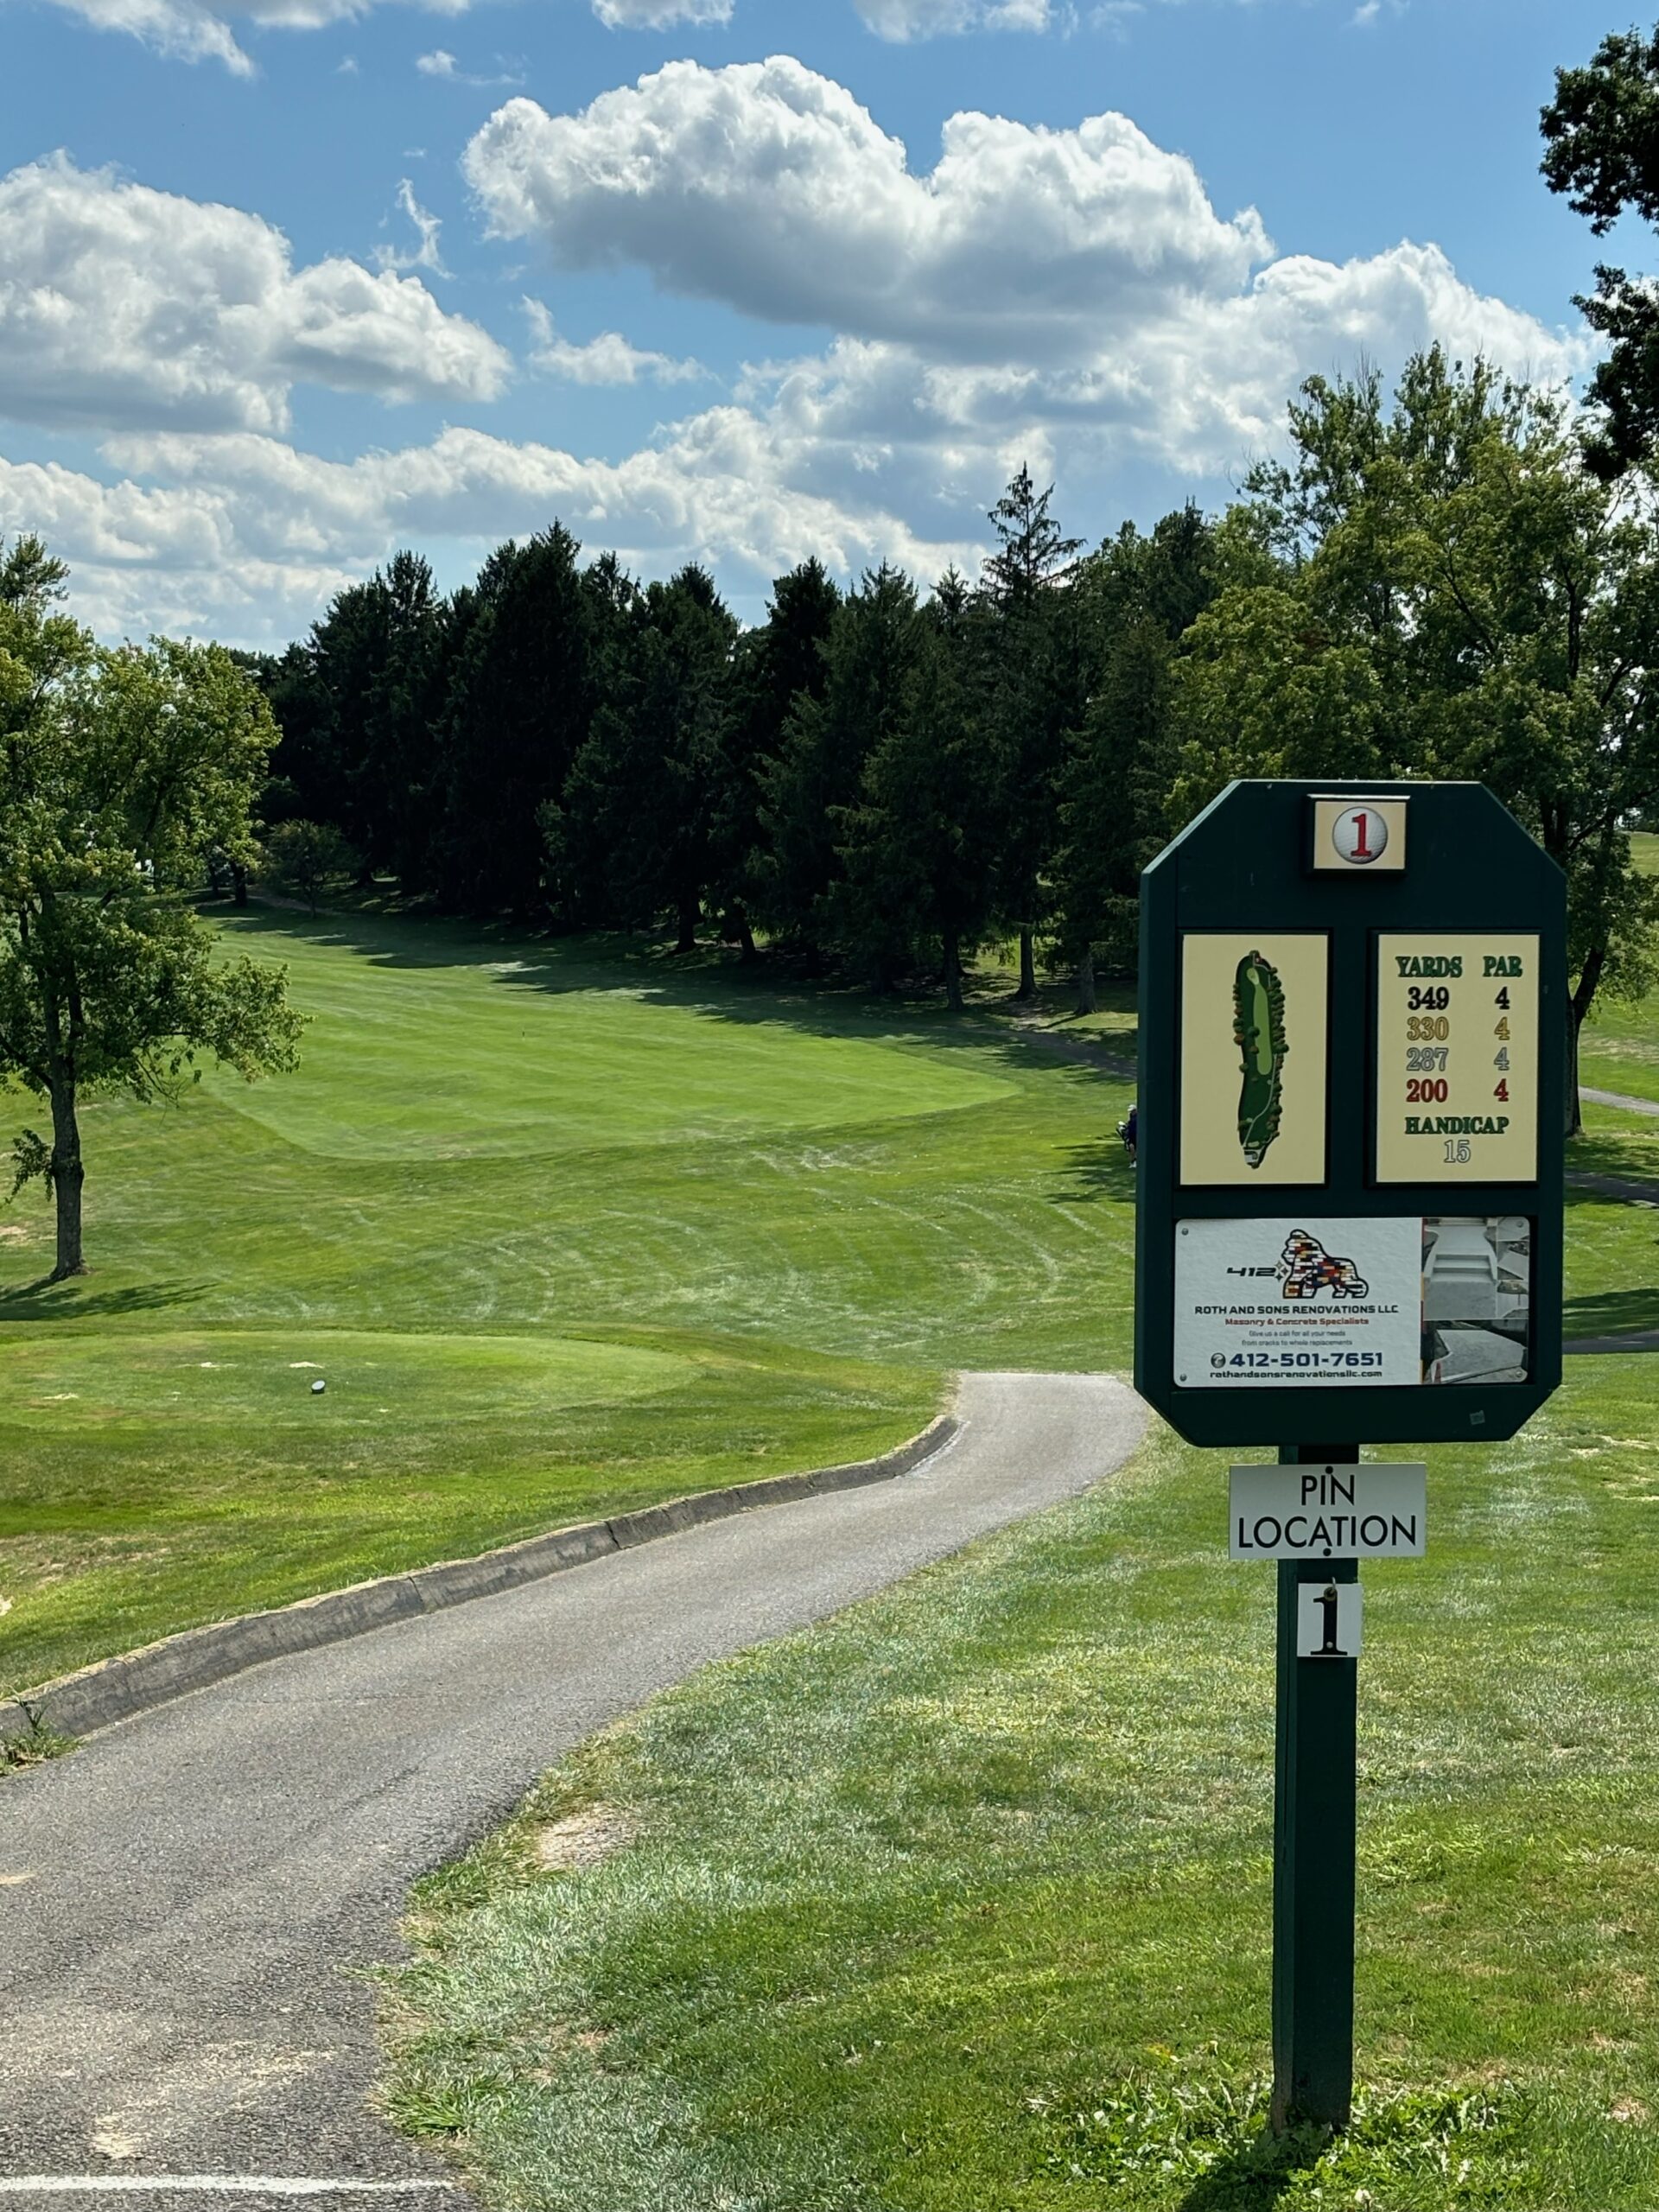
Hole 1: Par 4
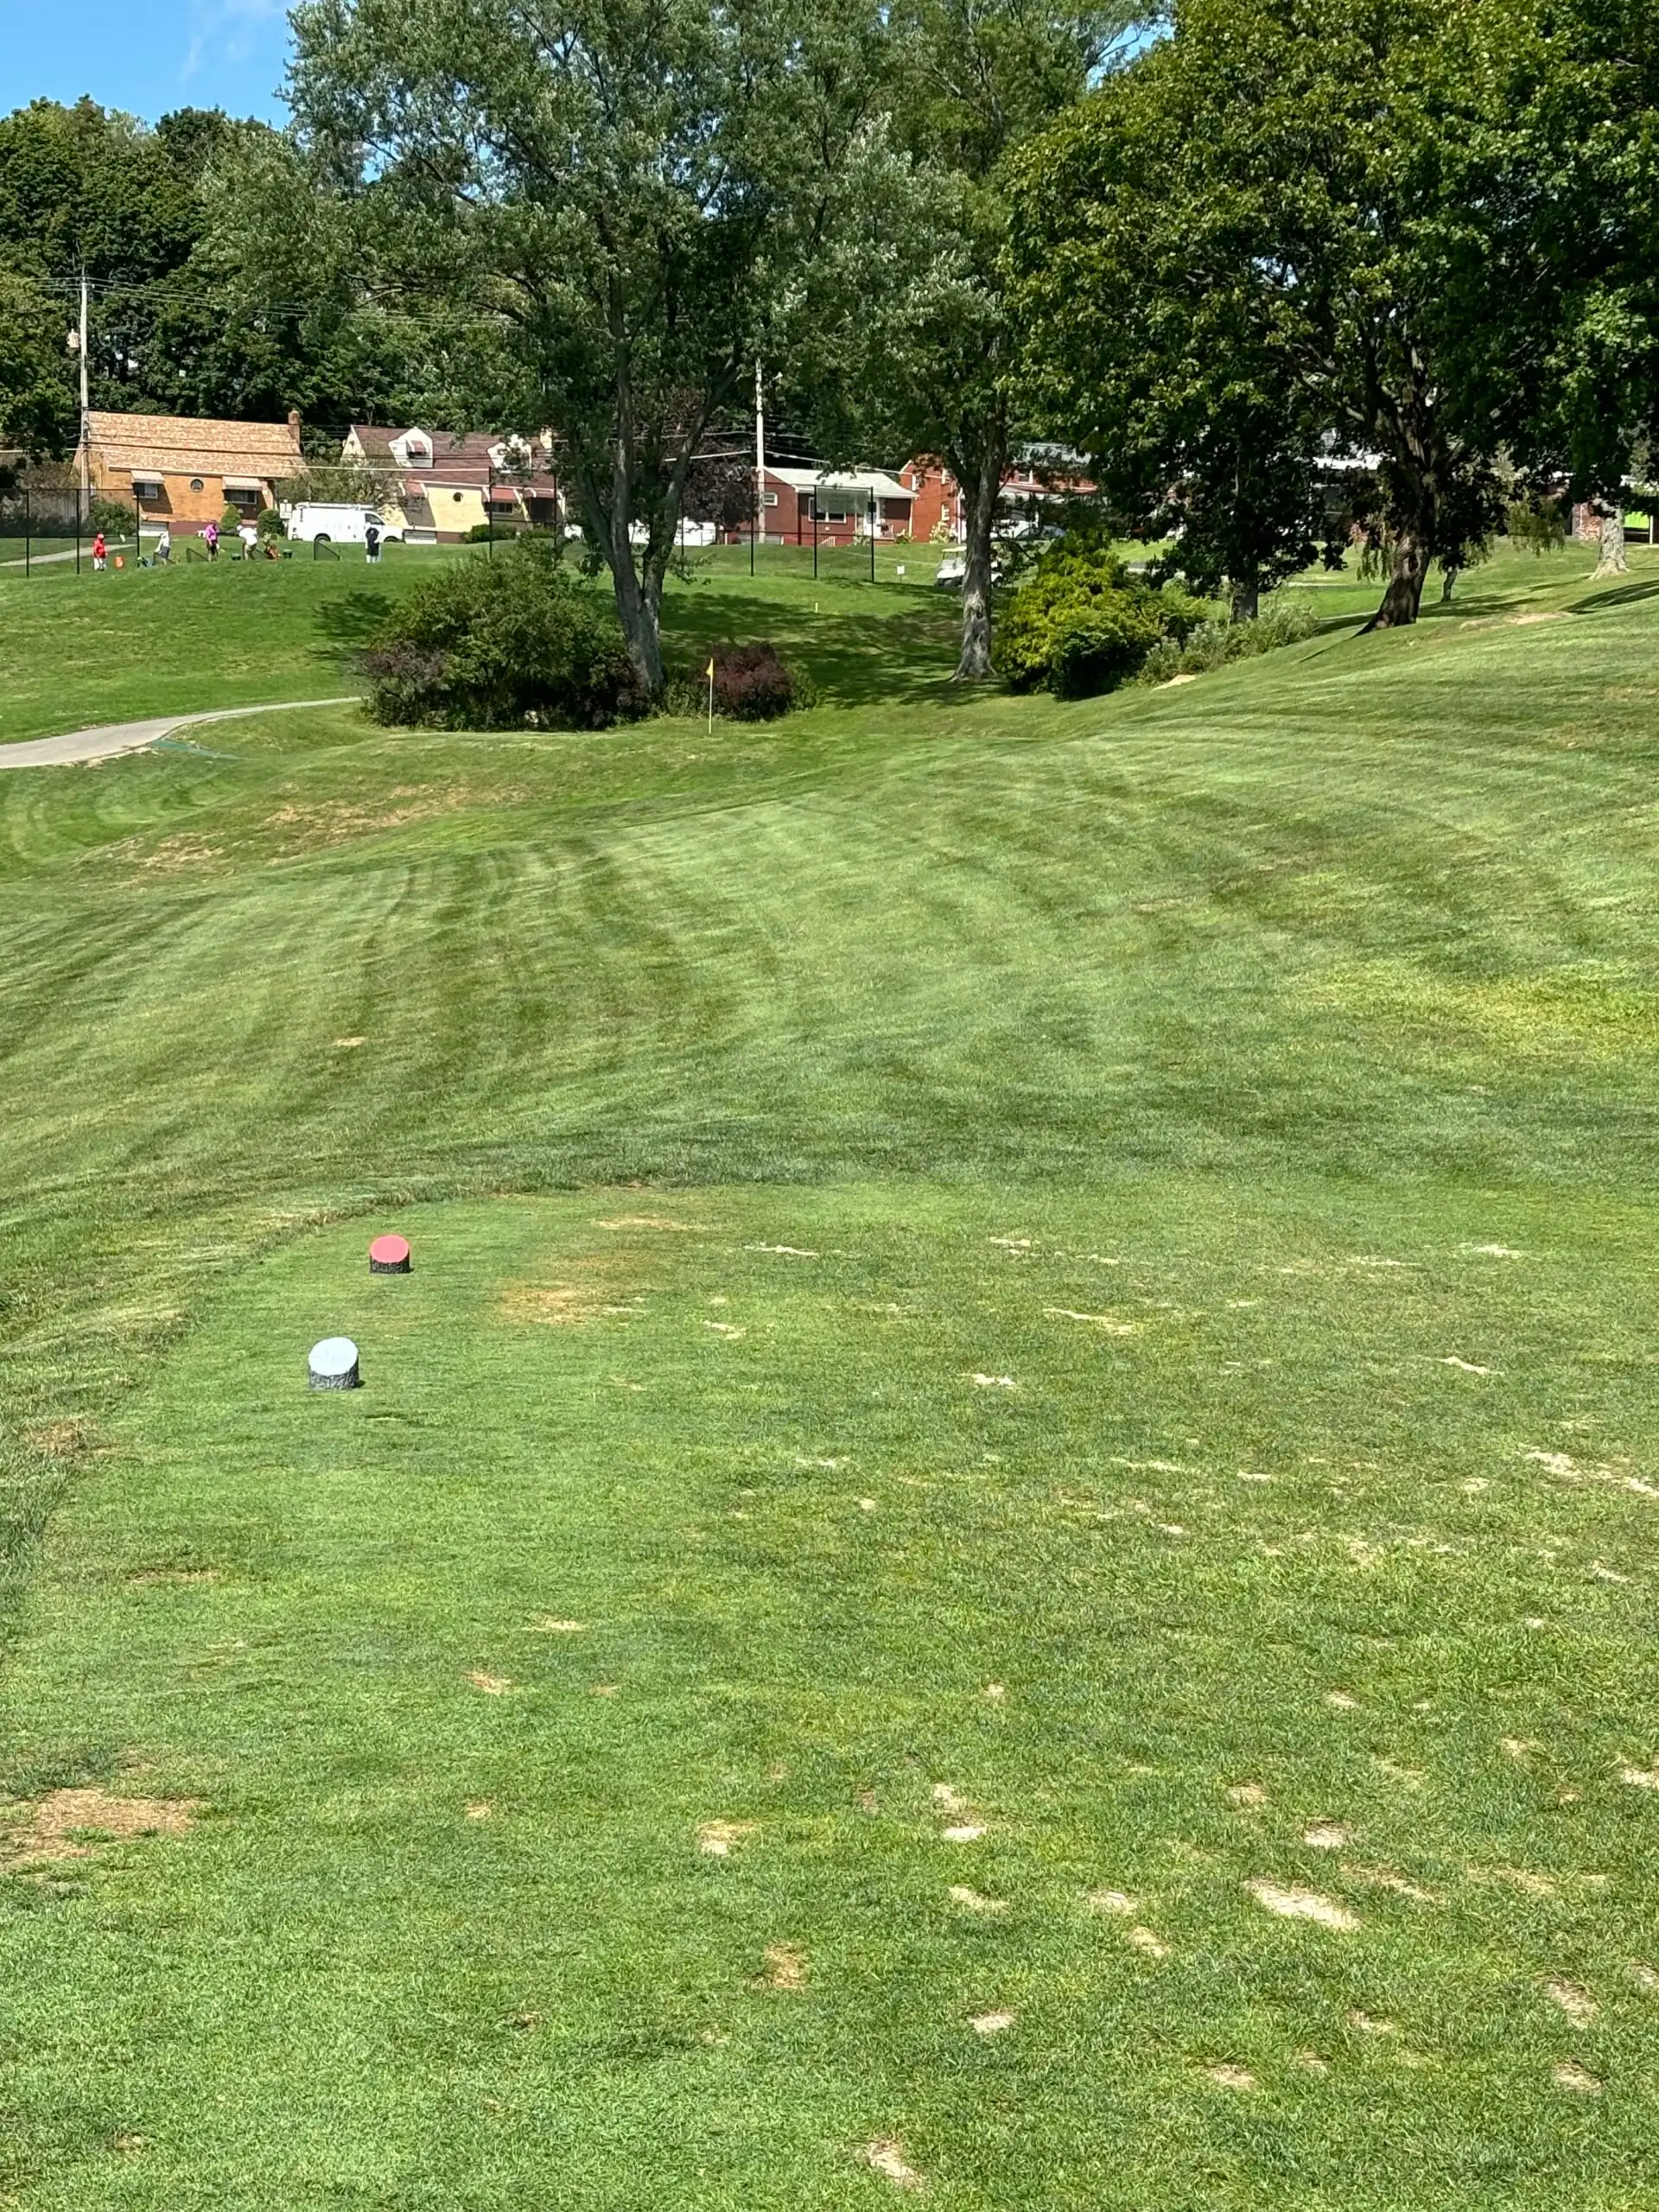
Favor the right side off the tee while avoiding the pine trees. A good chance for birdie awaits you on this short par 4.
HCP 15
Black
349
Gold
330
Silver
287
Red
200
Hole 2

Hole 2: Par 4
A slight draw off the tee will set you up well on this par 4. The green is large and slopes hard from right to left.
HCP 11
Black
350
Gold
340
Silver
314
Red
215
Hole 3


Hole 3: Par 5
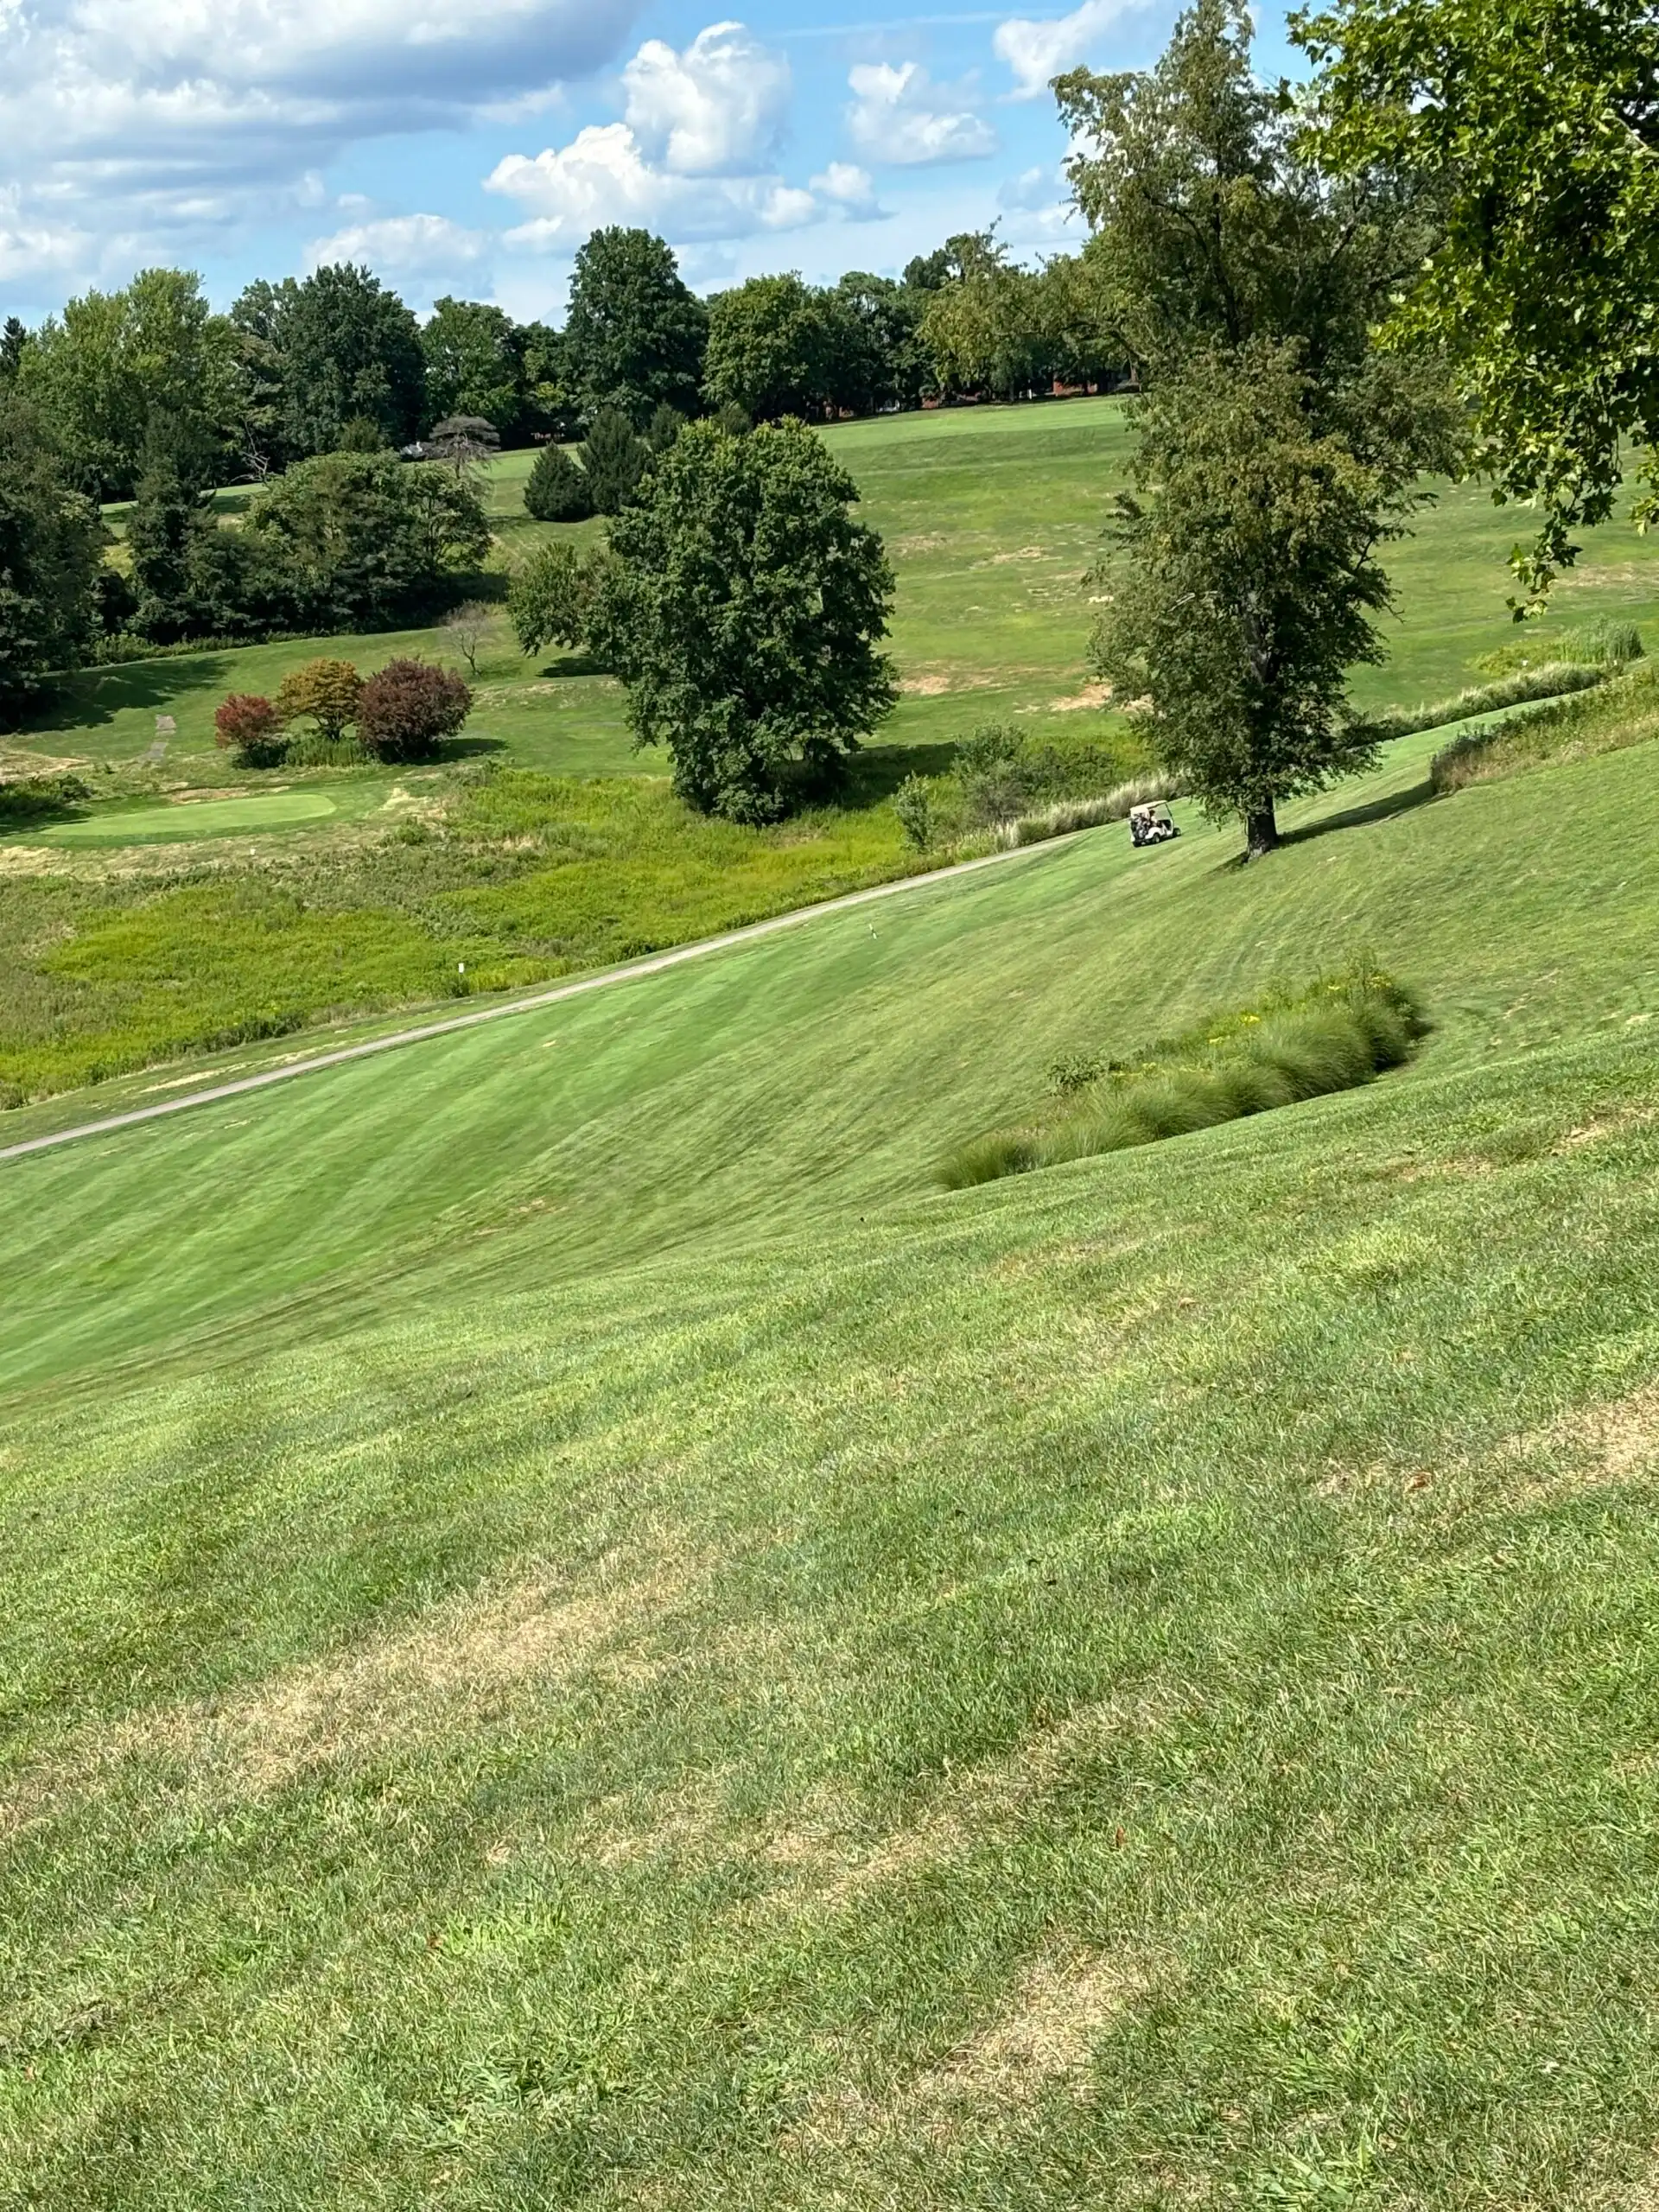
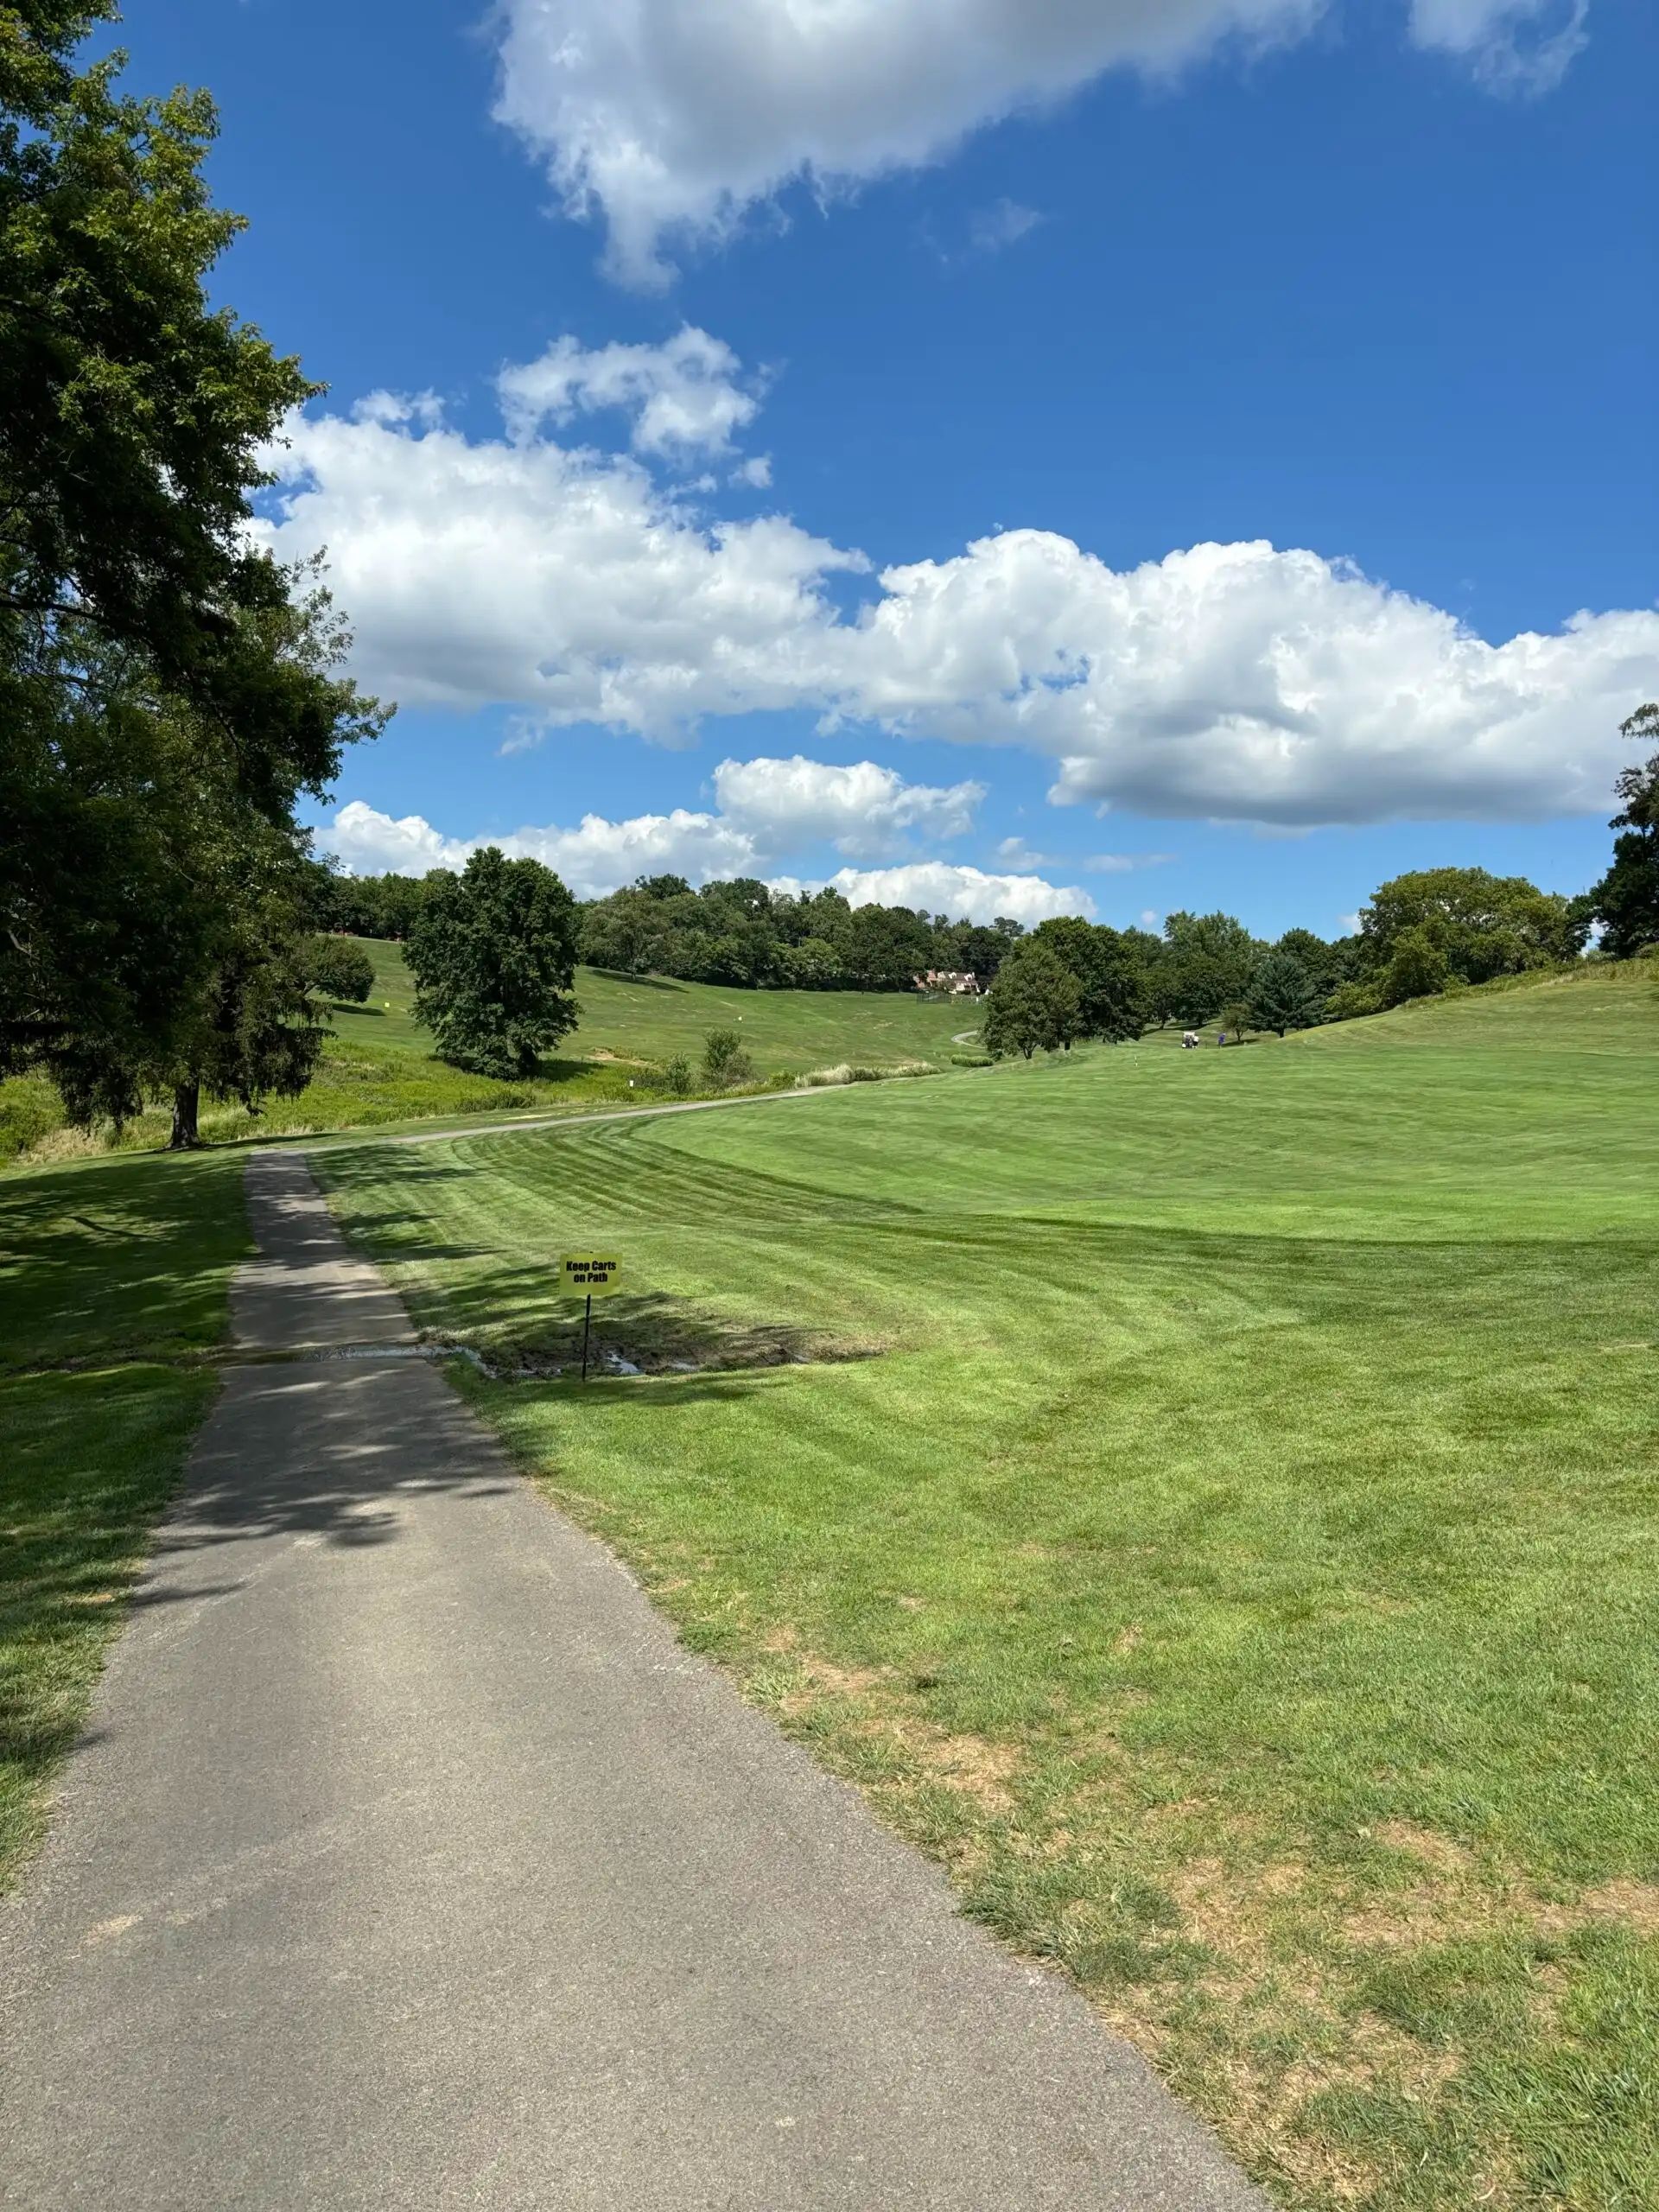
Stay on the cart path from tee to green on this challenging hole. The steep and hazardous slope can ruin a round quickly.
A fade down the right side will give you the best chance to find the fairway. Add extra club on your second shot as it plays uphill. This short par 5 doglegs right and requires a well-considered 2nd shot.
HCP 3
Black
480
Gold
460
Silver
440
Red
339
Hole 4


Hole 4: Par 3
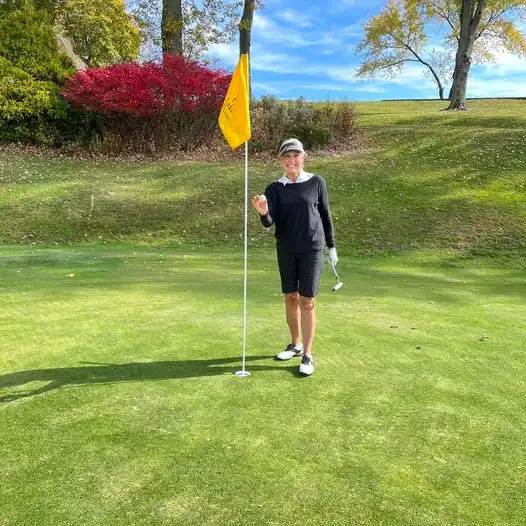
A short in yardage tee shot onto the green plays uphill. Avoid going left or rolling off the green toward the fairway. This fast green putts true and makes for a great chance for birdie or even a hole in one! HCP 13A short in yardage tee shot onto the green plays uphill. Avoid going left or rolling off the green toward the fairway. This fast green putts true and makes for a great chance for birdie or even a hole in one!
HCP 13
Black
140
Gold
130
Silver
120
Red
105
Hole 5


Hole 5: Par 5
This is the longest hole on the front, but long hitters may be able to reach the green in two. Favor the left side on both shots as the fairway slopes left to right. This green slopes hard from left to right.
HCP 7
Black
490
Gold
475
Silver
430
Red
320
Hole 6


Hole 6: Par 3
This second par 3 on the front nine always plays longer than the scorecard reads because it is an elavated green. The most common hole for an ace. Aim for the pin and avoid the brutal bunkers gaurding both sides of the green. HCP 17This second par 3 on the front nine always plays longer than the scorecard reads because it is an elavated green. The most common hole for an ace. Aim for the pin and avoid the brutal bunkers gaurding both sides of the green.
HCP 17
Black
145
Gold
127
Silver
112
Red
104
Hole 7


Hole 7: Par 4
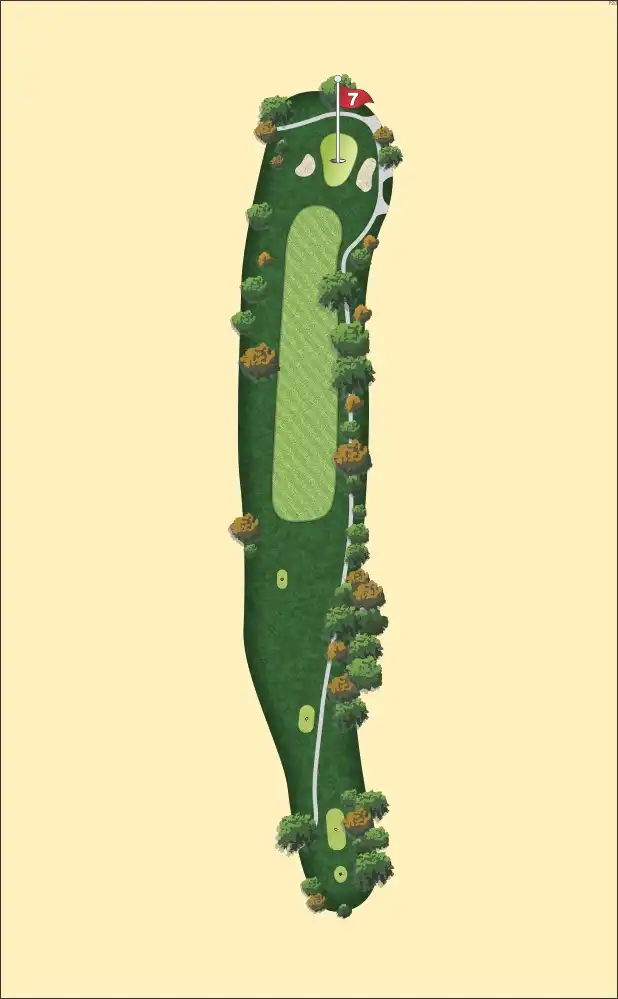
Play down the left side of the fairway. Accuracy is much more important than distance. Check pin location carefully on this two-tier green. Hitting long on your second shot practically guarantees a bogey or worse. HCP 5
Black
360
Gold
340
Silver
290
Red
215
Hole 8


Hole 8: Par 4
A good drive down the left center may roll to the right ensuring a good angle to the green. Be mindful of the pin location for the yardage on your approach shot for this sand free hole.
HPC 1
Black
412
Gold
382
Silver
297
Red
252
Hole 9


Hole 9: Par 4
Keep right off the tee on this short par 4. A deep bunkers guards the left side of the green. Stay beneath the pin on the green or a three-putt might be in your future. Make the turn at the pavilion for concessions and restroom.
HCP 9
Black
362
Gold
350
Silver
315
Red
220
Hole 10


Hole 10: Par 4
Favor the right side off the tee while avoiding the pine trees. A good chance for birdie awaits you on this short par 4.
HCP 15
Black
390
Gold
360
Silver
320
Red
235
Hole 11


Hole 11: Par 3
This long par 3 plays shorter than the indicated yardage. Shots landing in front of the green will run to the hole.
HCP 14
Black
262
Gold
201
Silver
164
Red
105
Hole 12


Hole 12: Par 5
Putting your tee shot in the fairway is critical on the longest hole on the golf course. Beware of the out of bounds markers running the entire right side of the hole. This large green slopes from left to right. HCP 2
Putting your tee shot in the fairway is critical on the longest hole on the golf course. Beware of the out of bounds markers running the entire right side of the hole. This large green slopes from left to right.
HCP 2
Black
530
Gold
520
Silver
397
Red
390
Hole 13


Hole 13: Par 4
While standing on the 13th tee, you are at the furthest point from where you began. Stay left off the tee to find the fairway on this picturesque hole. The approach shot plays uphill but try to keep short of the pin on this severely sloped green.
HCP 8
Black
392
Gold
355
Silver
295
Red
220
Hole 14

Hole 14: Par 4
This short par 4 plays uphill from tee to green. Look for the red target high above the green. Out of Bounds stakes mark the right side along on this hole.
HCP 18
Black
355
Gold
345
Silver
258
Red
205
Hole 15


Hole 15: Par 4
A tee shot down the left side sets up the best angle of approach to this difficult green. Watch most second shots usually plays uphill. Do all you can to avoid the “Jaws” bunker to the right of the green.
HCP 10
Black
356
Gold
330
Silver
310
Red
200
Hole 16

Hole 16: Par 4
By aiming down the right side of the fairway you can keep the ball in play. The green is elevated and plays uphill, sloping from right to left.
HCP 6
Black
416
Gold
402
Silver
318
Red
250
Hole 17


Hole 17: Par 3
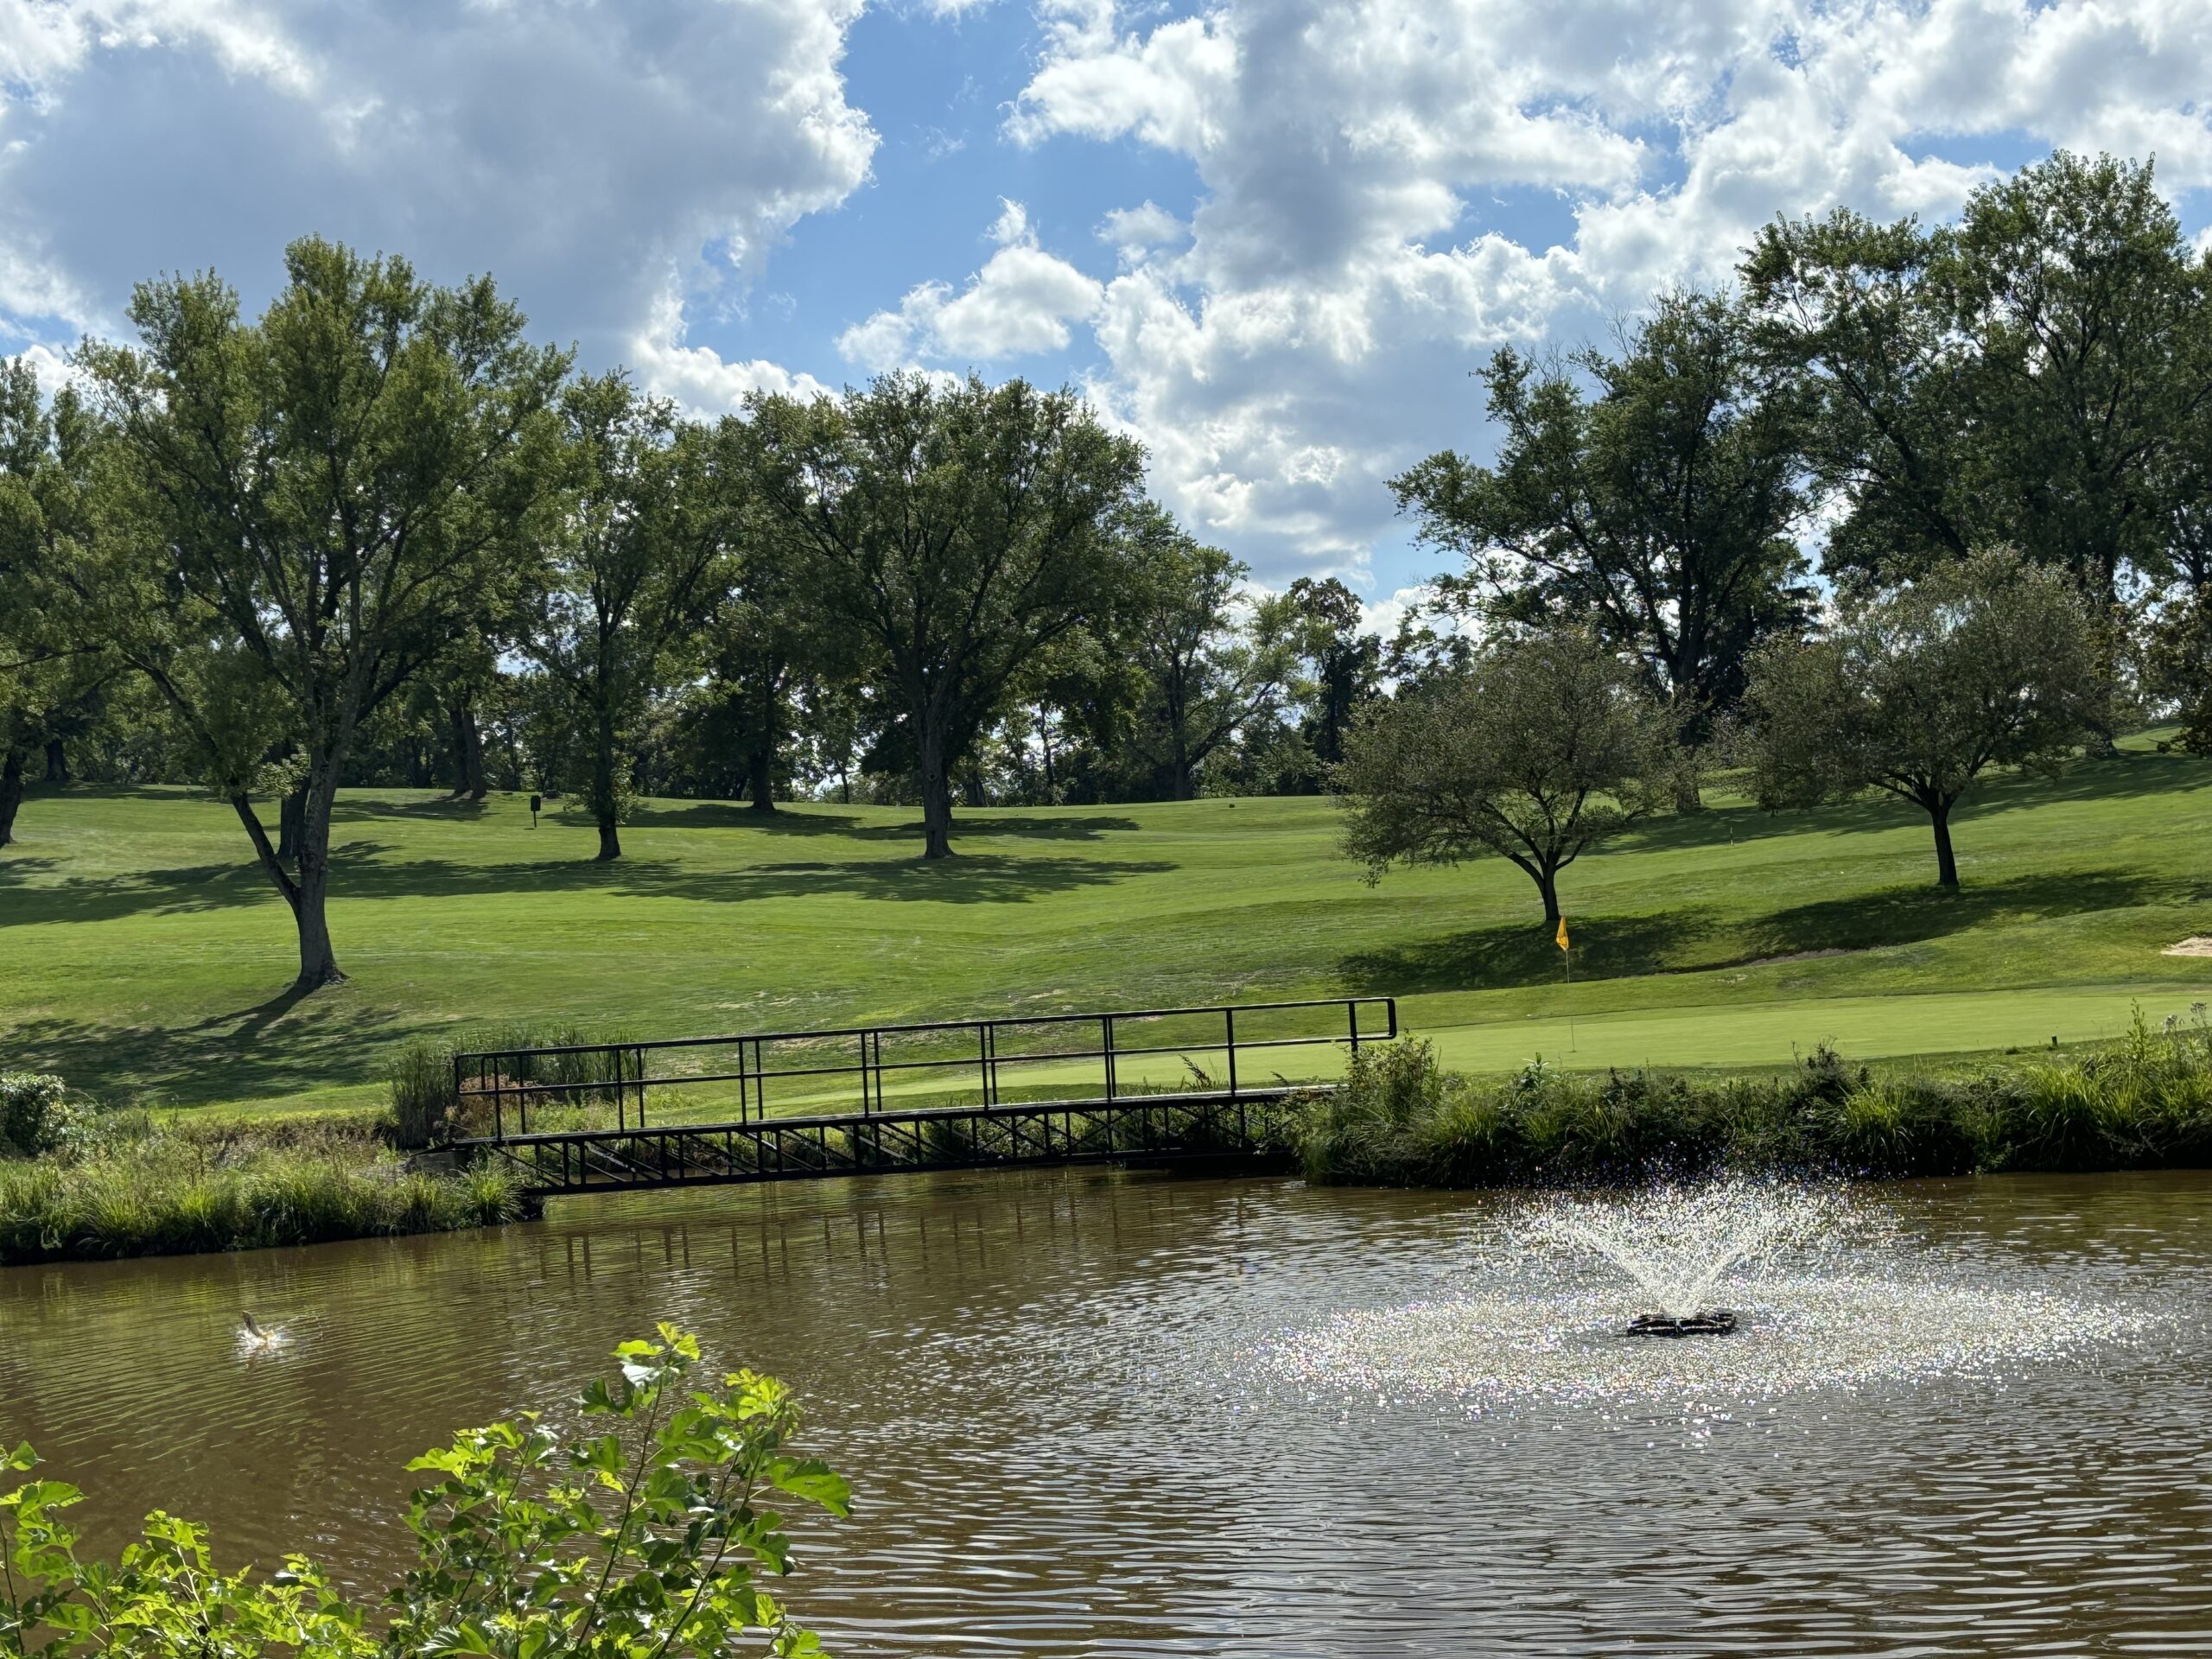
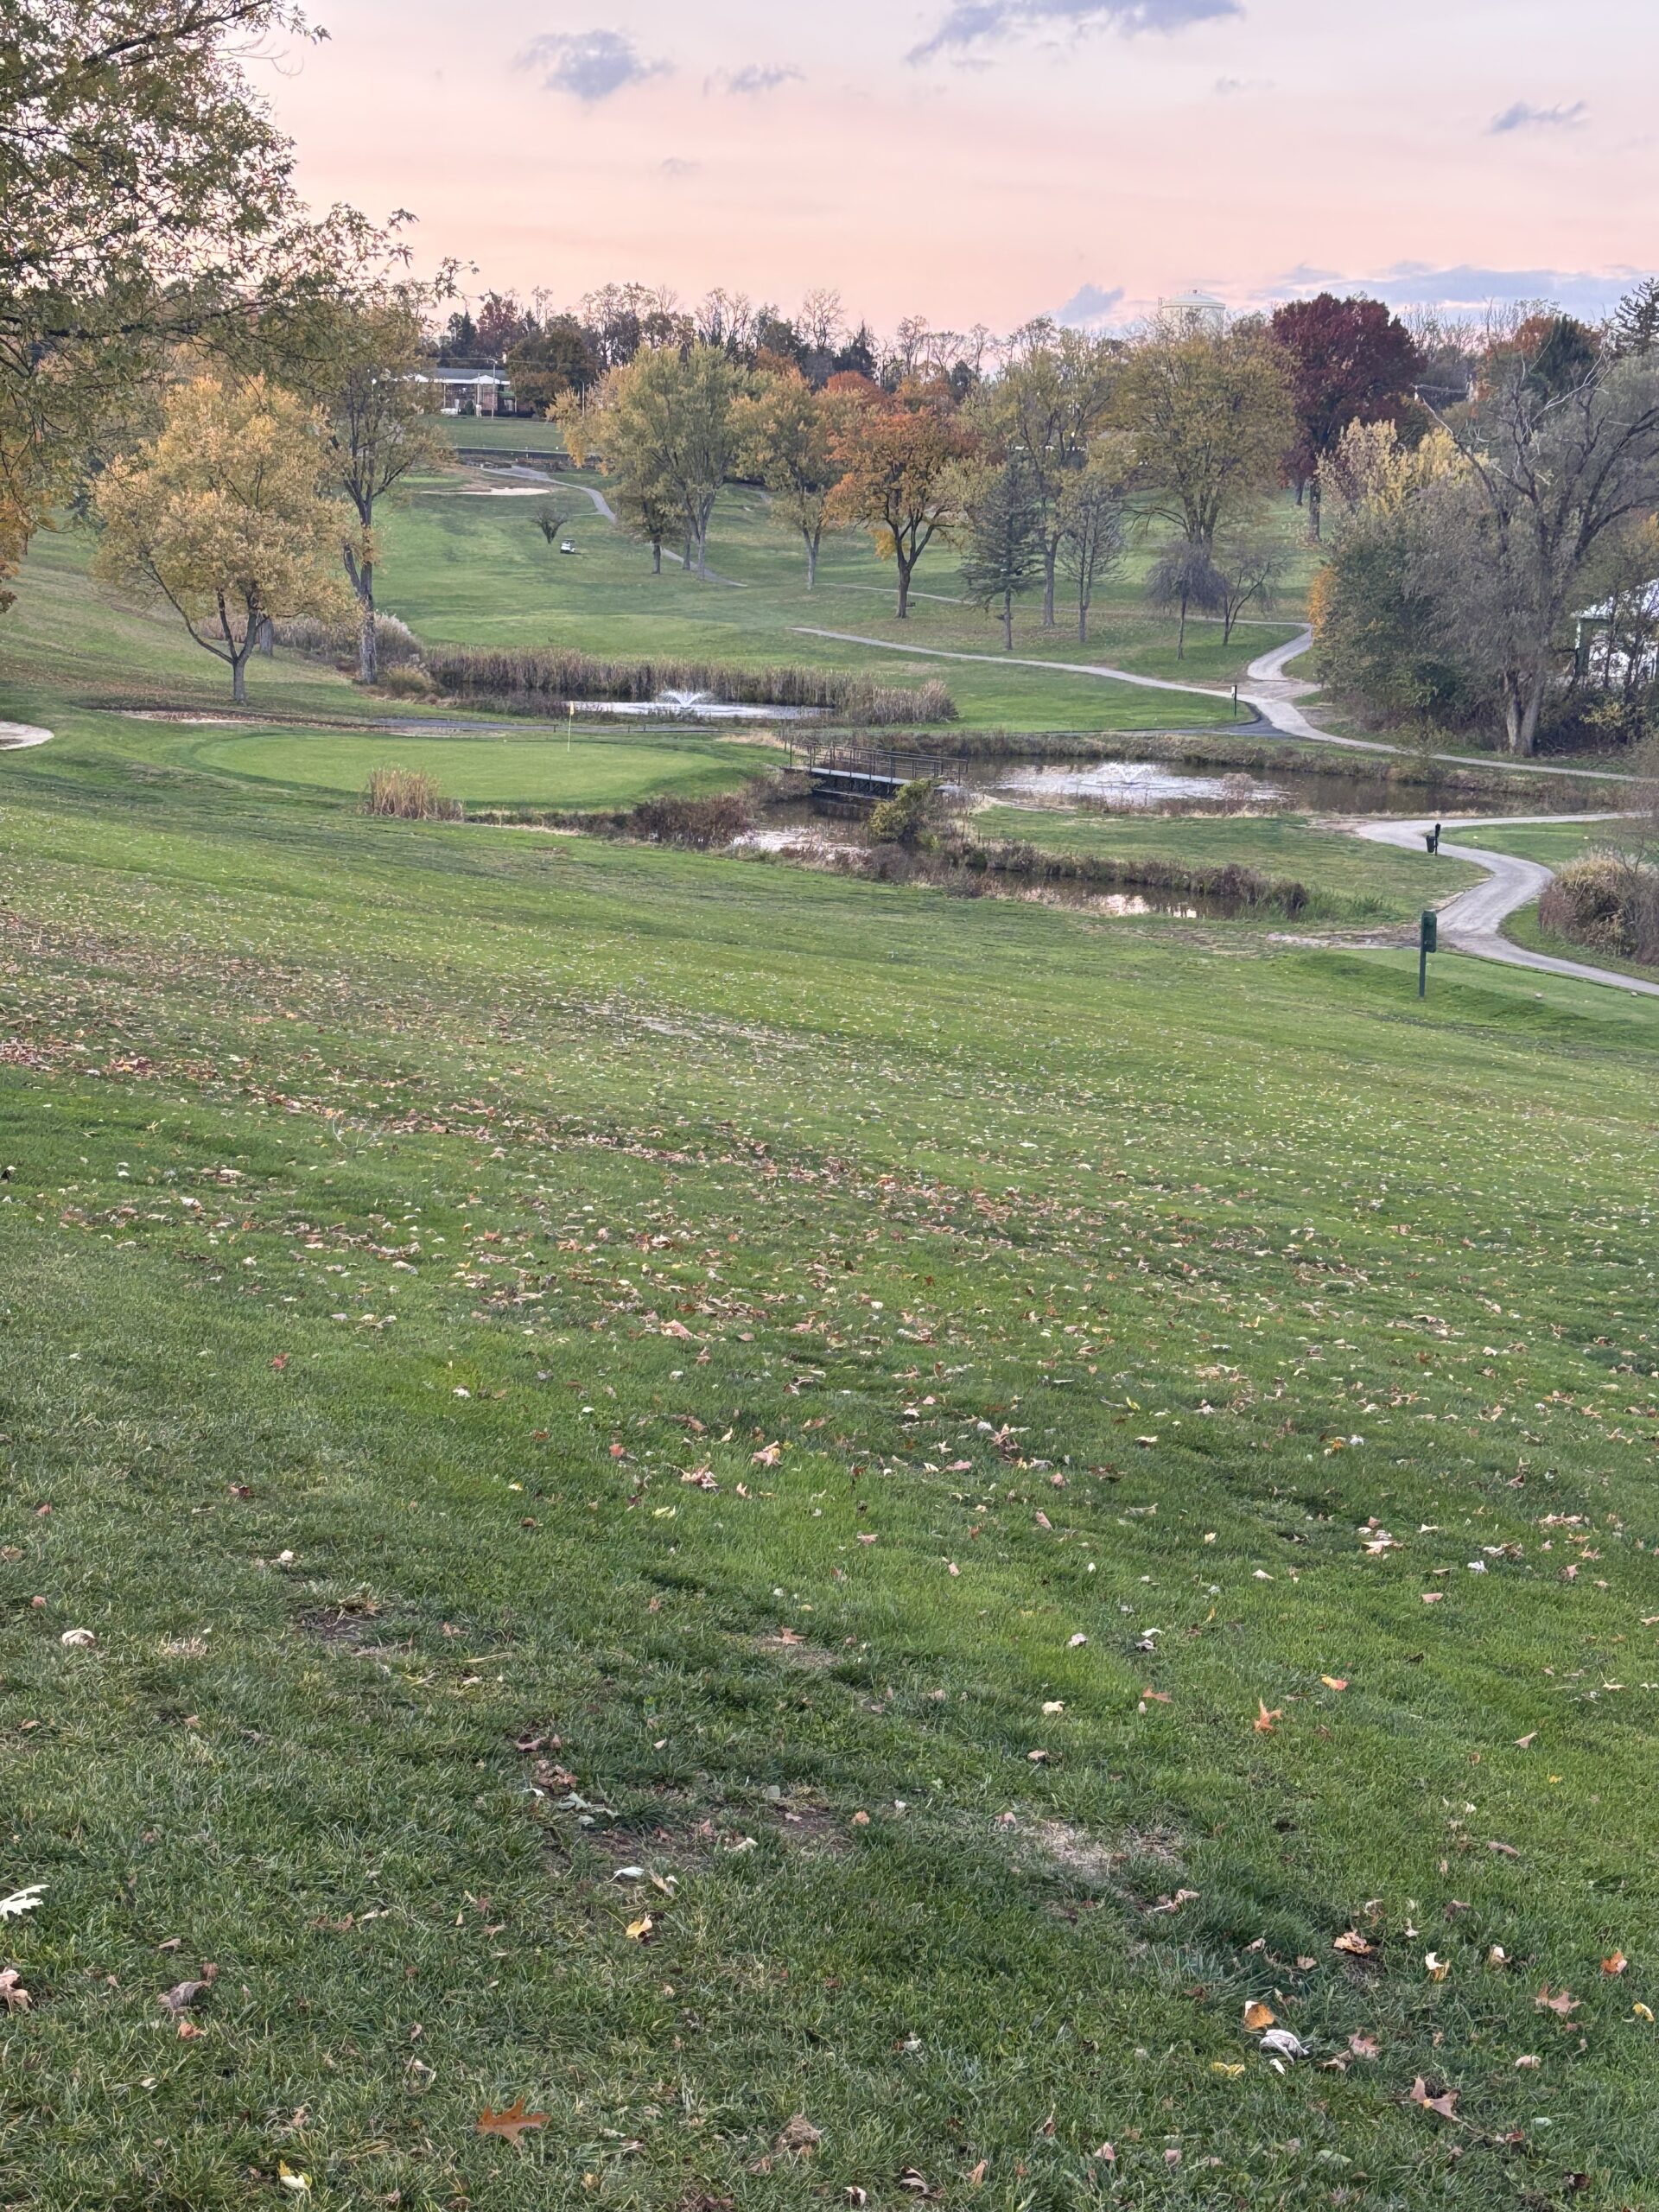
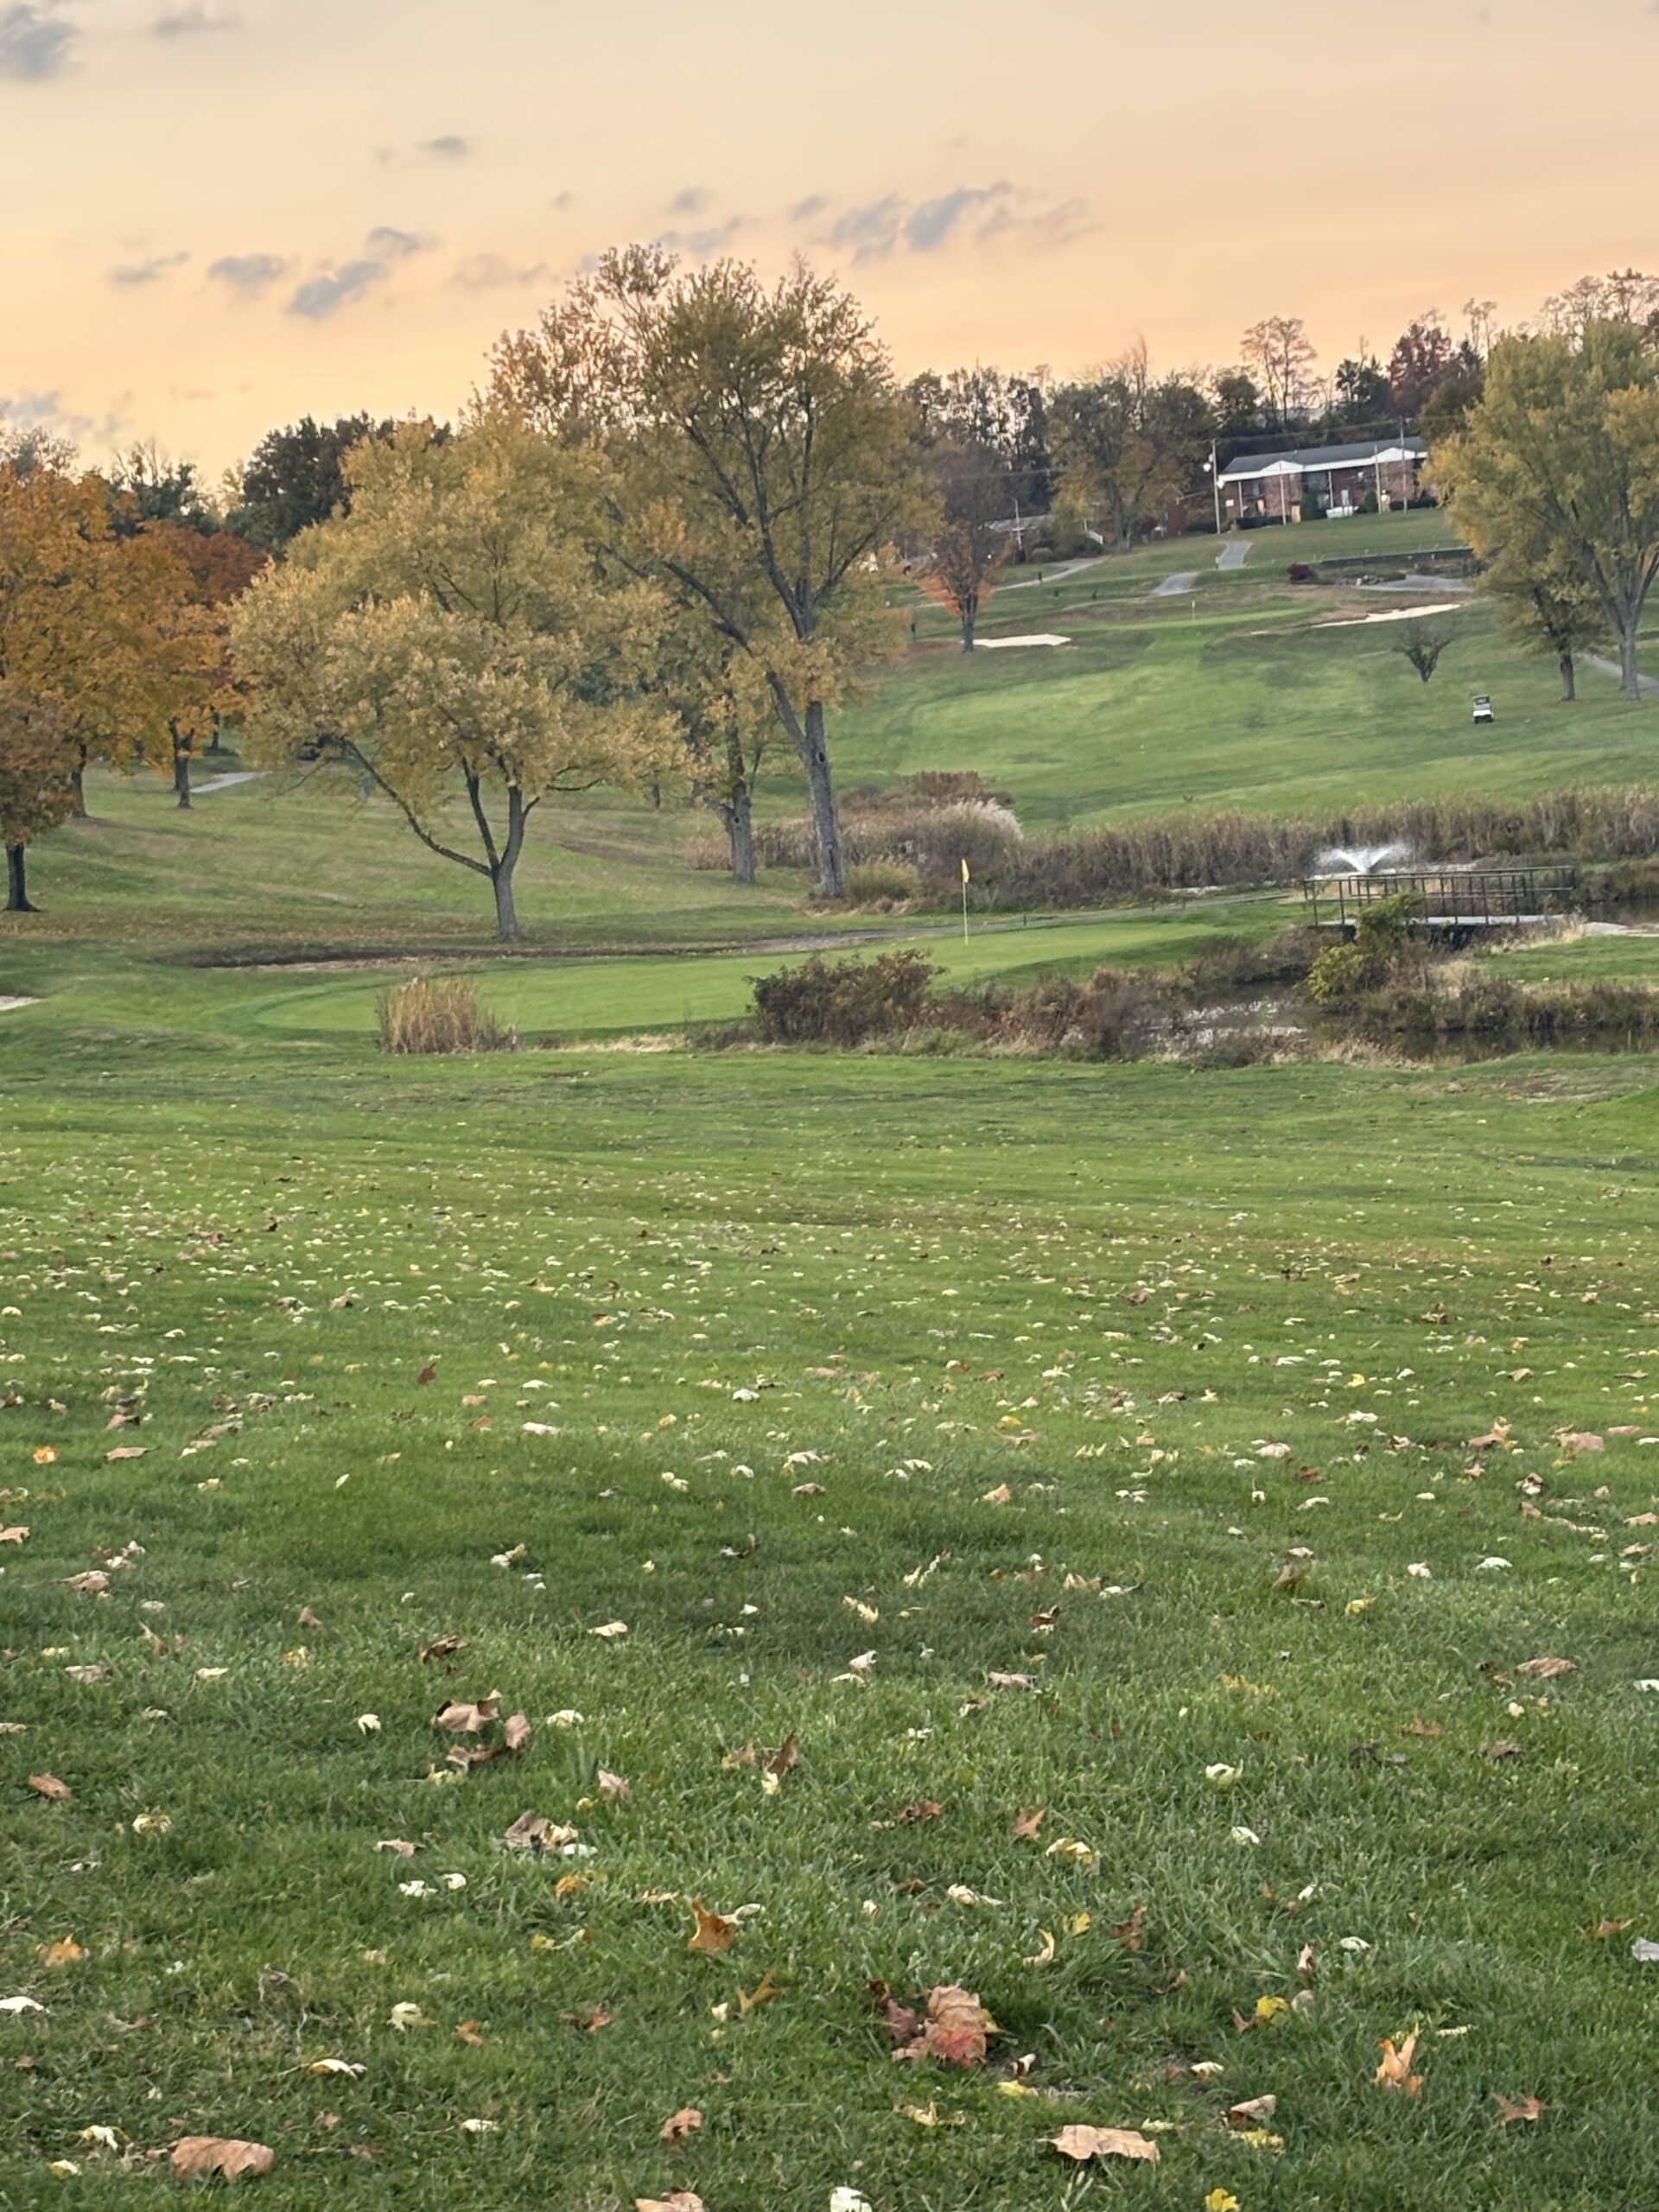
This is the signature hole at 3 Lakes. Any shot that comes up short or right will find the water. The bridge is for pedestrians only. Do no attempt to take a golf cart across the bridge (yes, this has happened and now I have to say it). HCP 16
This is the signature hole at 3 Lakes. Any shot that comes up short or right will find the water. The bridge is for pedestrians only. Do no attempt to take a golf cart across the bridge (yes, this has happened and now I have to say it).
HCP 16
Black
186
Gold
173
Silver
105
Red
74
Hole 18


Hole 18: Par 5
A great finishing hole. The tee shot requires length and accuracy. The fairway approach plays uphill. Avoid the false front of the green as your ball may roll back down the fairway. Reaching this green in two may be possible for some players but a two-putt birdie is no guarantee on this undulating green. HCP 12A great finishing hole. The tee shot requires length and accuracy. The fairway approach plays uphill. Avoid the false front of the green as your ball may roll back down the fairway. Reaching this green in two may be possible for some players but a two-putt birdie is no guarantee on this undulating green.
HCP 12
Black
529
Gold
460
Silver
385
Red
330
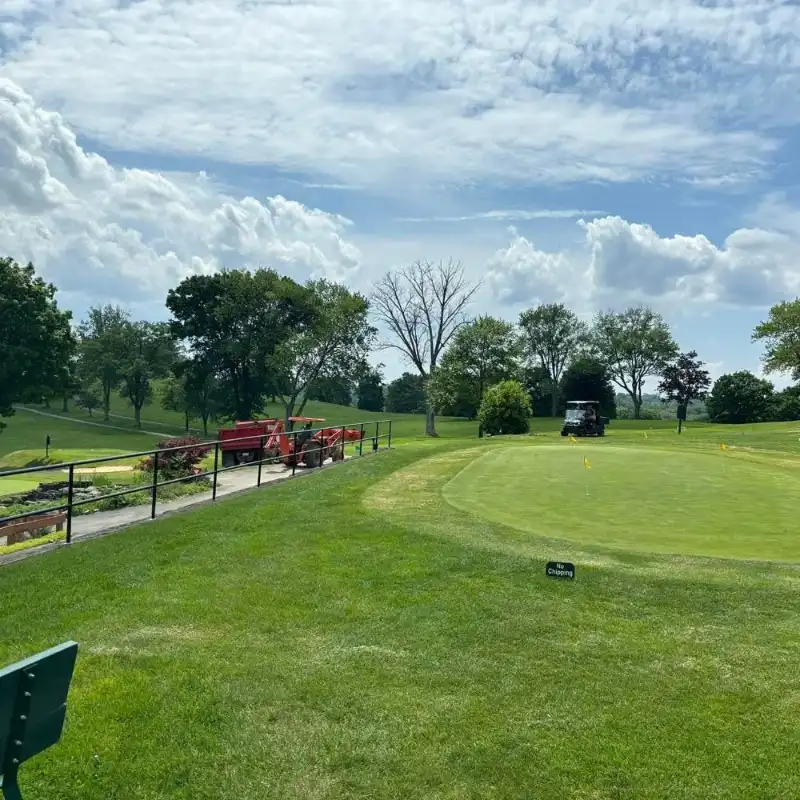
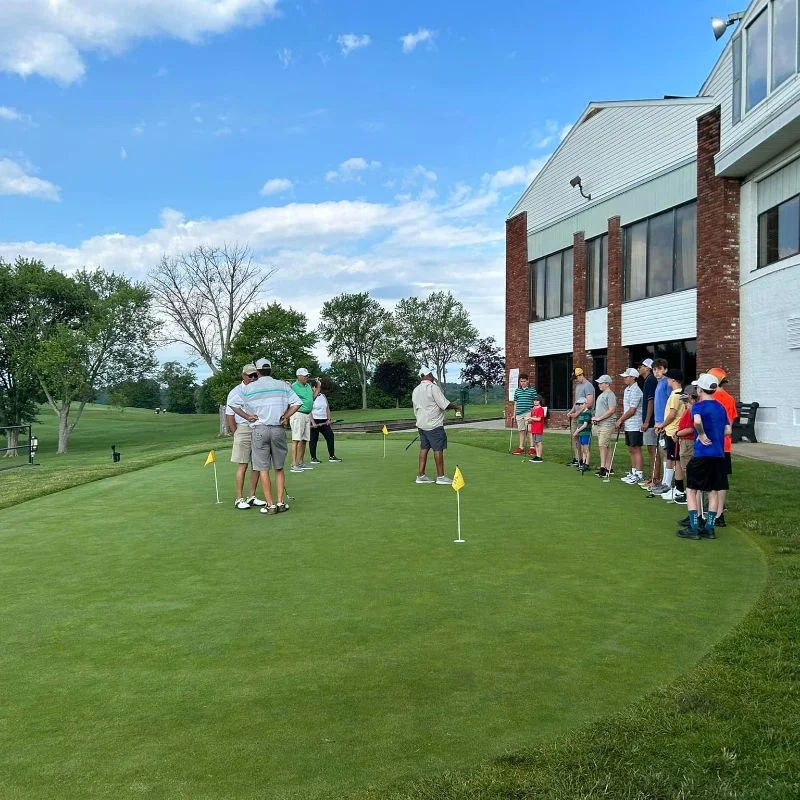
Warm up on the Practice Putting Green
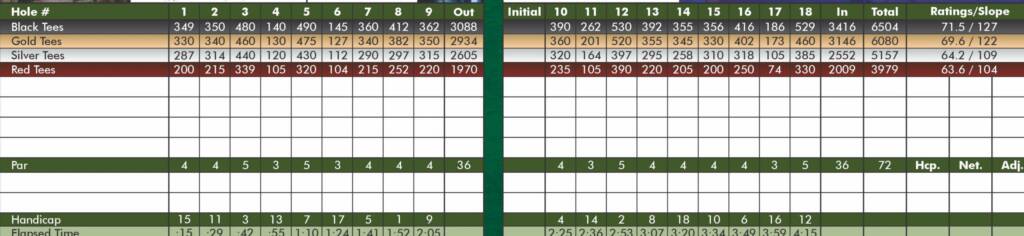
Scorecard